
Diy » DIY electronics workbench
My previous electronics workbench was an old melamine office desk. It was not high enough to work comfortably on PCB assembly. I usually hand-solder small SMT components (0603, TSSOP, etc.) and I always ended up placing my PCBs on top of a box so I could see better what I was doing.
I looked online for a pre-built workbench, but I couldn’t find what I was looking for. Either it was too expensive or I didn’t like the design. I decided to build my own instead.
To be honest, woodworking isn’t one of my strongest skills, but in the end, I was quite satisfied with the results.

The design
I don’t have a shop in a garage or basement, I live in an apartment, so I’m limited on space. My previous setup was composed of two desks in an “L” shape configuration. The desk was 56” by 26” and a smaller bench on the left side for my drill press (36” by 18”). With the drawers on the desk, it did not leave too much leg room.
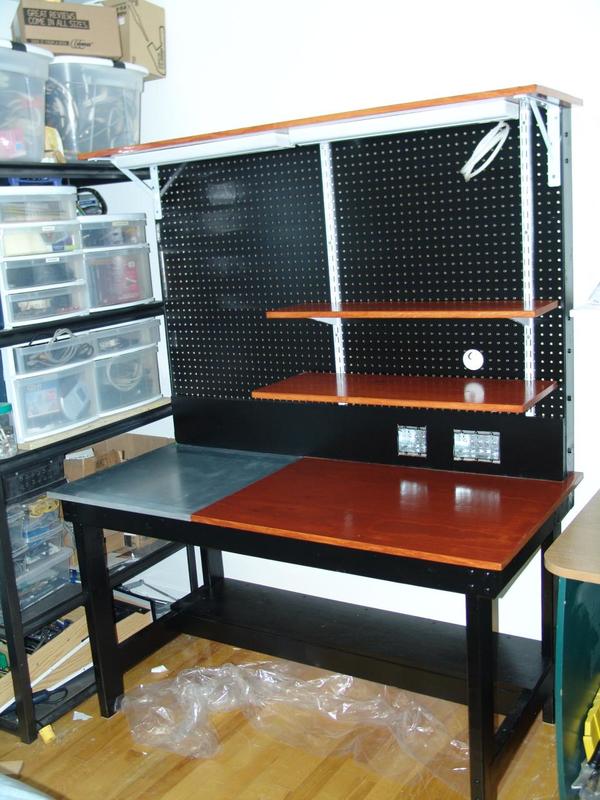
I wanted to get rid of the smaller table and install my drill press on my workbench. I made it 58” by 28” of which 24 inches is reserved on the left side for the drill. That leaves 34 inches for the work surface which I find is plenty.
The bench top is 31.5 inch from the floor. The total height including the top section is 82.5 inches.


Shelves
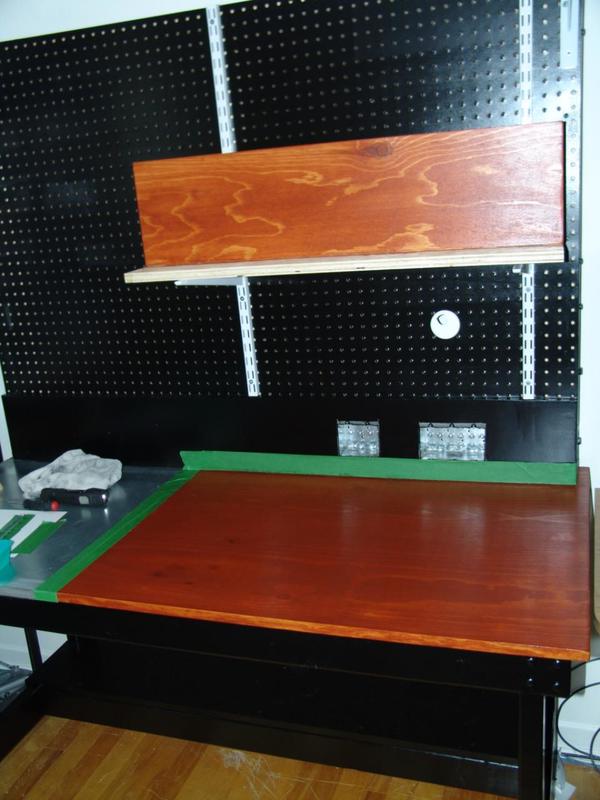
I designed the shelves to be part of the workbench itself so I wouldn’t have to drill holes in the wall to hang them. The top section is 41 inch high and has a perforated board backing (Peg board). There are two 32 inches wide adjustable shelves on the right side and one fixed shelf on the top which spans the entire width of the workbench.
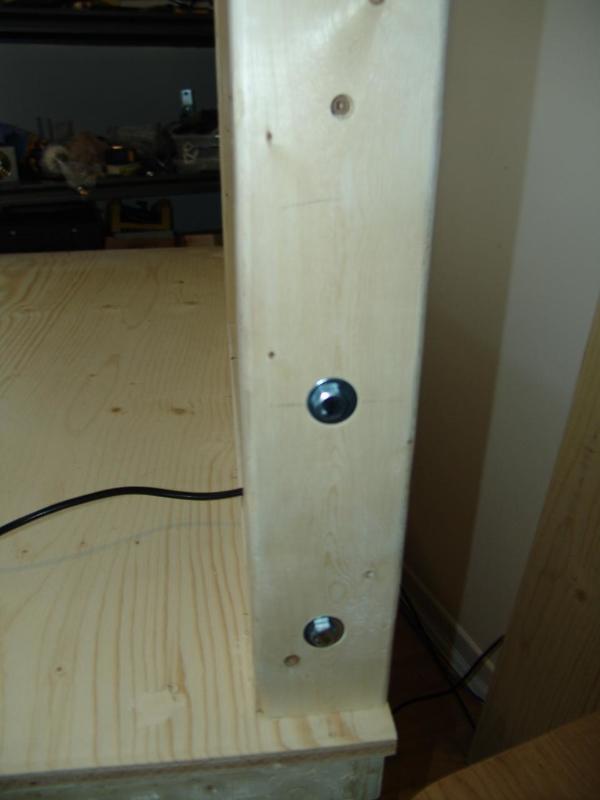
Now, anyone who had to move a refrigerator down the stairs in a three story apartment building knows how much fun it is. That is why I made the top section detachable so the whole thing would be easier to move. The legs on the back extends 12 inch from the top of the work surface. The frame of the top section is held in place on those legs with two bolts on each sides.
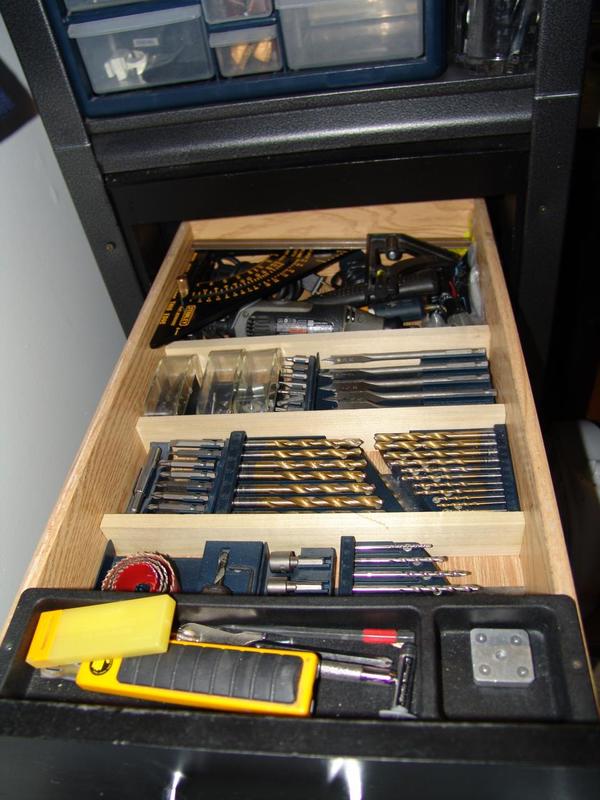
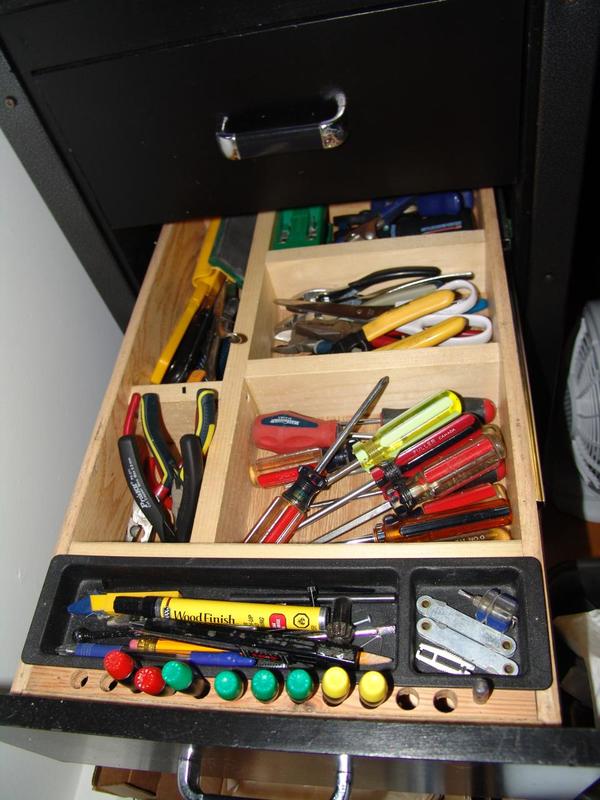
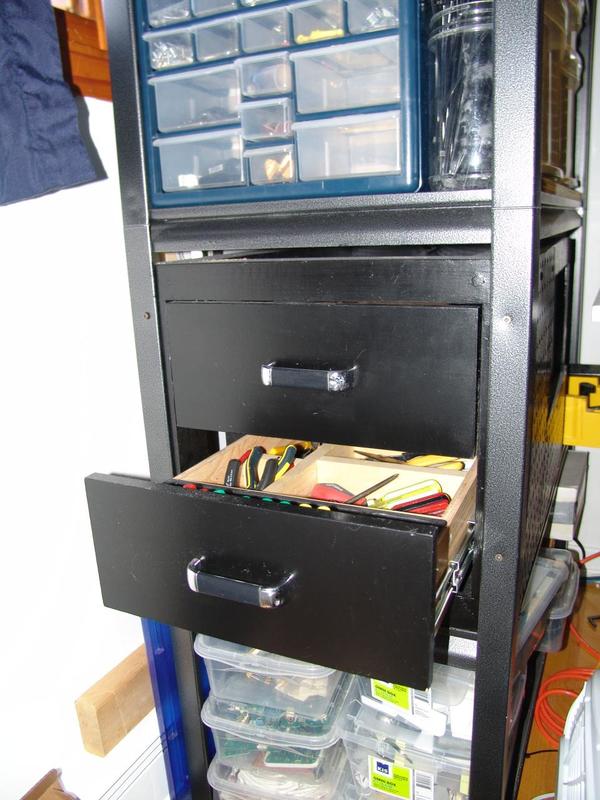
Drawers
There was no practical places to install drawers for my tools. I recycled the drawers from my old desk. As it turns out, it fitted perfectly on the side of the storage shelf near my workbench. I Built a frame for them with 2x2’s and painted it black. I installed ball bearing slides instead of the cheap tracks I had before.

Plan
Here is the workbench plans (PDF) :

Construction
Framing
I started by cutting each piece of the frame using 2x4’s. I assigned each one letters so it was easier to keep track which goes where and to avoid mistakes. Then, I made 1.5 inch deep notches on the front and rear legs so that the horizontal support could sit inside the notches. That way, all the weight you put on top of the bench is transferred directly to the legs instead of the screws.


Once I cut all the pieces, I began assembling the sides first. Then, the front and rear support beams and finally, the lower shelf. This shelf serves as additional storage space, but more importantly, it also strengthens the structure. On most workbench plans, it spans the entire depth. I made it 11 inch wide instead so it would give me enough leg room.


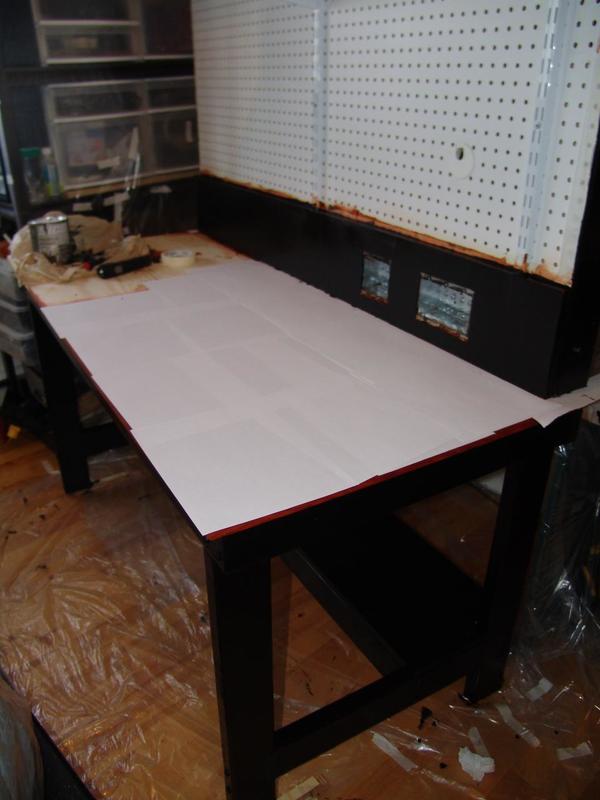
Bench top
With the base frame completed, it was time to install the bench top. I glued and screwed the top in place with three inches screws. I then covered the screws with wood filler. Now this is the step I would differently if I did it again. Altough I did match the wood filler with the natural color of the wood. Once I stained it however, it became more apparent. The proper way to do it would have been to glue another 1/4 inch sheet on top of the base sheet


Top section
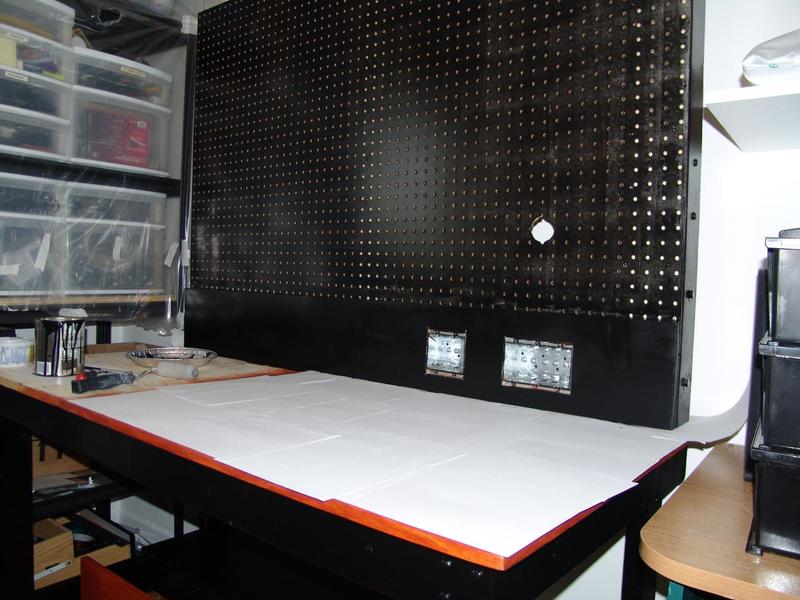
The next step was to assemble the upper section frame and then add the perforated board. I added a seven inches back-splash on top of the perforated board. This was not part of the original design, it was a way to cover a screw-up i made. Anyway, I think it looks better that way.
I cut openings for the two device boxes. The larger one is for AC and the smaller one on the left is for low voltage connections (network access and USB).


Finishing
I originally planned to stain the entire workbench. The bench top looked fine, but trying to stain the 2x4’s was a mistake. I did one leg and it looked like crap. In the end, I decided to stain only the bench top and shelves and paint the rest with black melamine paint.
The melamine paint did not need any varnish (I’m not sure if it would be compatible anyway). To protect the stain, I used Varathane Nano Defence floor finish. The guy at the building supply store gave me the idea, I would never have thought of using floor varnish on a piece of furniture, but it actually works quite well. It is water based, so the smell was not an issue here.
To apply the varnish, I used a four inch wide foam brush. I applied about seven coats of varnish, sanding lightly between each application.


Lighting fixtures
Lighting is one thing I made sure I had plenty of. In addition to the two fluorescent tubes on the top shelf, I have two LED “tubes” under the lower shelf about 10 inches away from the work surface. I don’t have the proper tool to measure the total LUX, but I think one would have sufficient light to perform surgery.
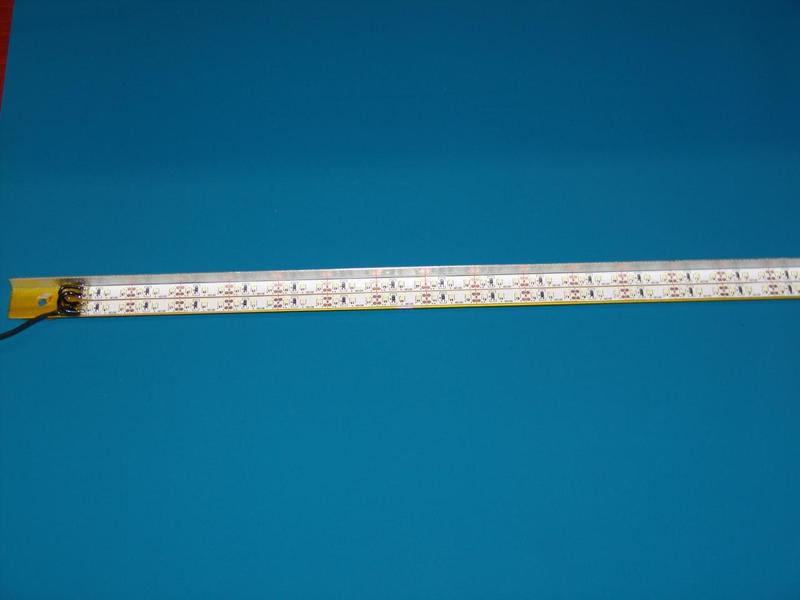
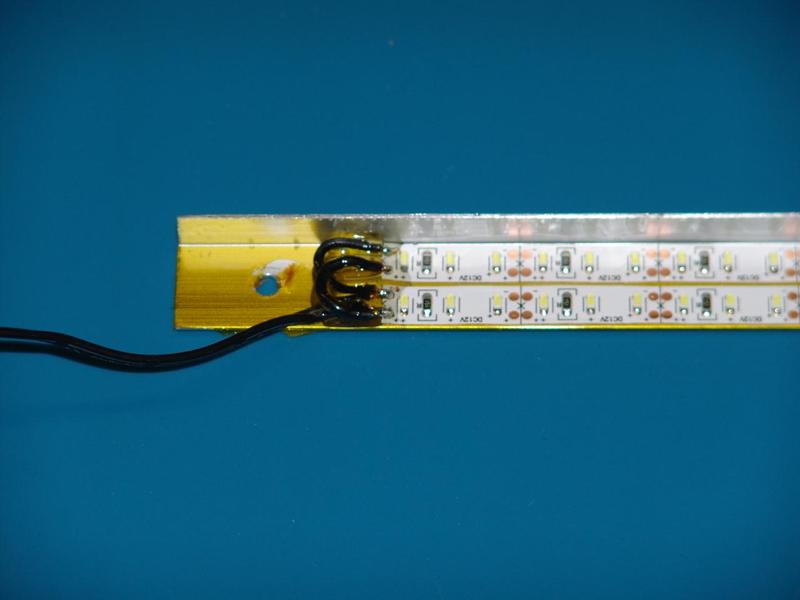
I made those lighting fixtures myself from flexible LED strips (120 LED per meter) I bought on Ebay. Each fixtures is composed of two 40cm (16 inches) strip in parallel for a total of four 40cm strips. At 12 Watt per meter, they consumes about 19W @ 12V. They are powered by a 25W 12V AC-DC PSU (LS25-12) mounted on the frame behind the perforated board.
They are fixed on an “L” shape aluminum channel which helps dissipate the heat.


Electrical
There are two AC outlets: The white one is always on and the gray outlet is controlled by the switch on the right. The second switch controls both the fluorescent tubes and the LED strips.
Cabinet for my scope

With the drill press this close to my oscilloscope, there is a high risk of debris flying into the vents, especially when i’m drilling aluminum. Up until now, each time i was using the drill, I always put something over my scope to protect it, but that was not enough. There was always the possibility that I would lose my grip on the piece i’m drilling and that it goes flying towards the LCD screen, not a good thing… That’s why i decided to build this cabinet before something catastrophic happens.
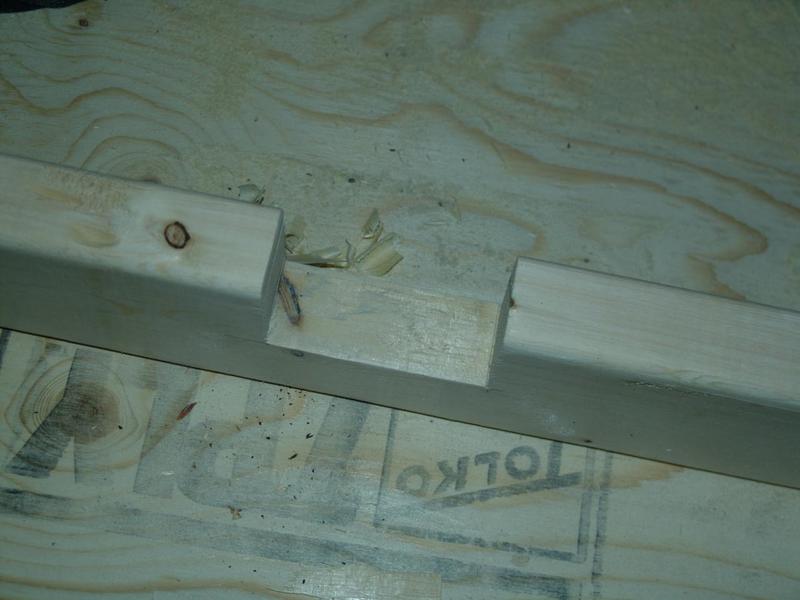
There’s nothing too fancy here, it’s just a box with a door. It measures 23 1/2” long x 8” high by 12 3/4” deep. It’s made from 3 pieces of 12 inch wide, 3/4 inch thick plywood. The door frame is made from 2x1 pine strips with a groove in the middle to fit the 3/16 inch thick lexan sheet.
The cabinet itself is screwed to the shelf so that in case of an impact, it won’t hit the equipment inside.
As for ventilation, there is 2 inch clearance at the top and 5 inch behind which is not ideal, but good enough. I never leave the scope on with the door closed.


